Add multiple network interfaces to an instance
Infrastructure admin users and VDC manager users can add multiple network interfaces (vNICs) to an instance.
Complete the following steps to add multiple network interfaces (multi-vNICs) to an instance:
- In the ThinkAgile CP Cloud Controller left-side menu, perform one of the following steps:
- Expand Applications and click All Instances.
- Expand the virtual datacenter where the instance is located and click VDC Instances.
Figure 1. VDC Instances page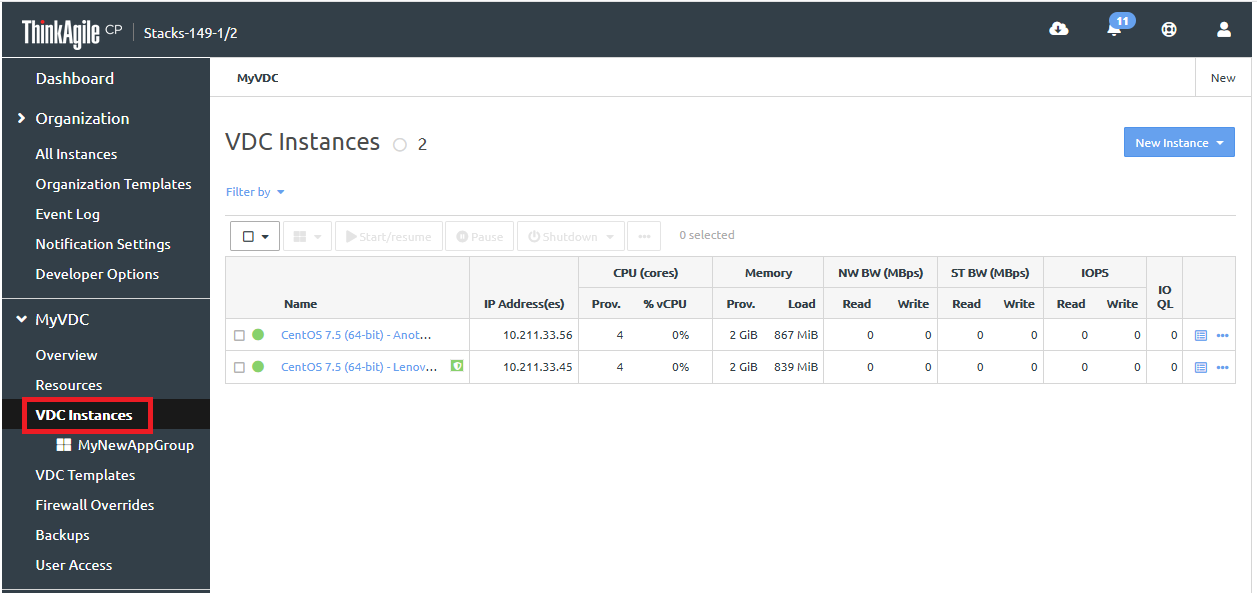
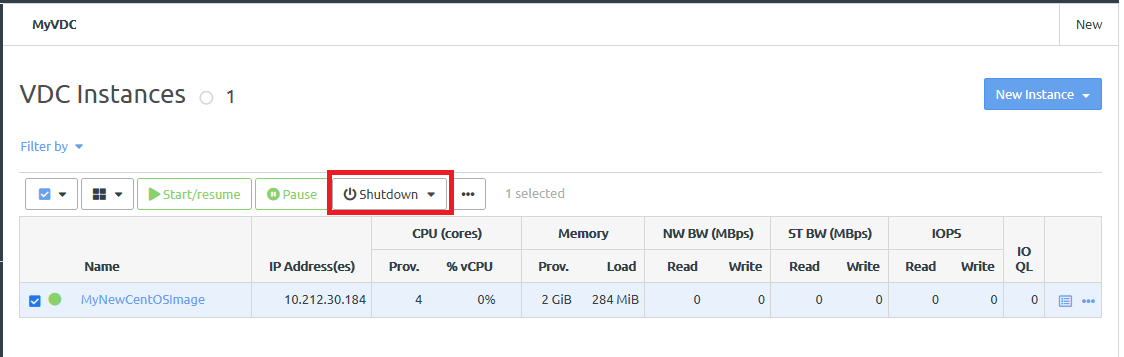
- Select the instance and click Shutdown to shut down the instance. Figure 2. Shutting down an instance
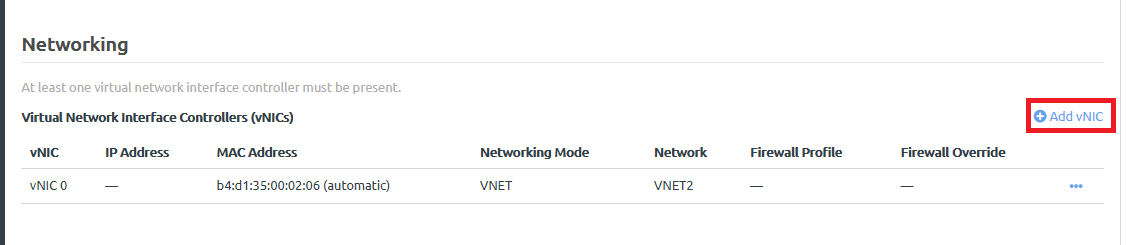
- Scroll down to the Networking section. Then click Add vNIC.Figure 3. Add vNIC option
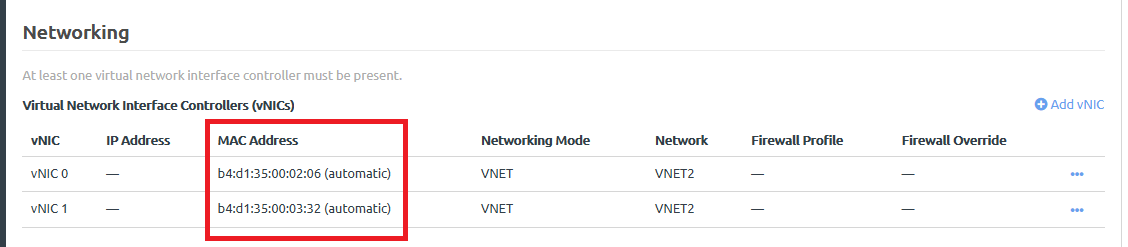
- Make a note of the MAC addresses used for the instance vNICs.Figure 4. Newly added vNIC
Configure the multi-vNICs:
Note
Up to 64 vNICs (vNIC 0 - vNIC 63) can be added to a single instance.
If it is a CentOS instance, see the following topic:
If it is an Ubuntu instance, see the following topic:
Give feedback