Deploy an NFV instance
After creating a new NFV instance for an incomplete VNET or removing an old NFV instance from an existing VNET, Infrastructure admin users can deploy a new NFV instance for a VNET.
Note
For more information about user roles in ThinkAgile CP, see the following topic:
Complete the following steps to deploy a VNET instance.
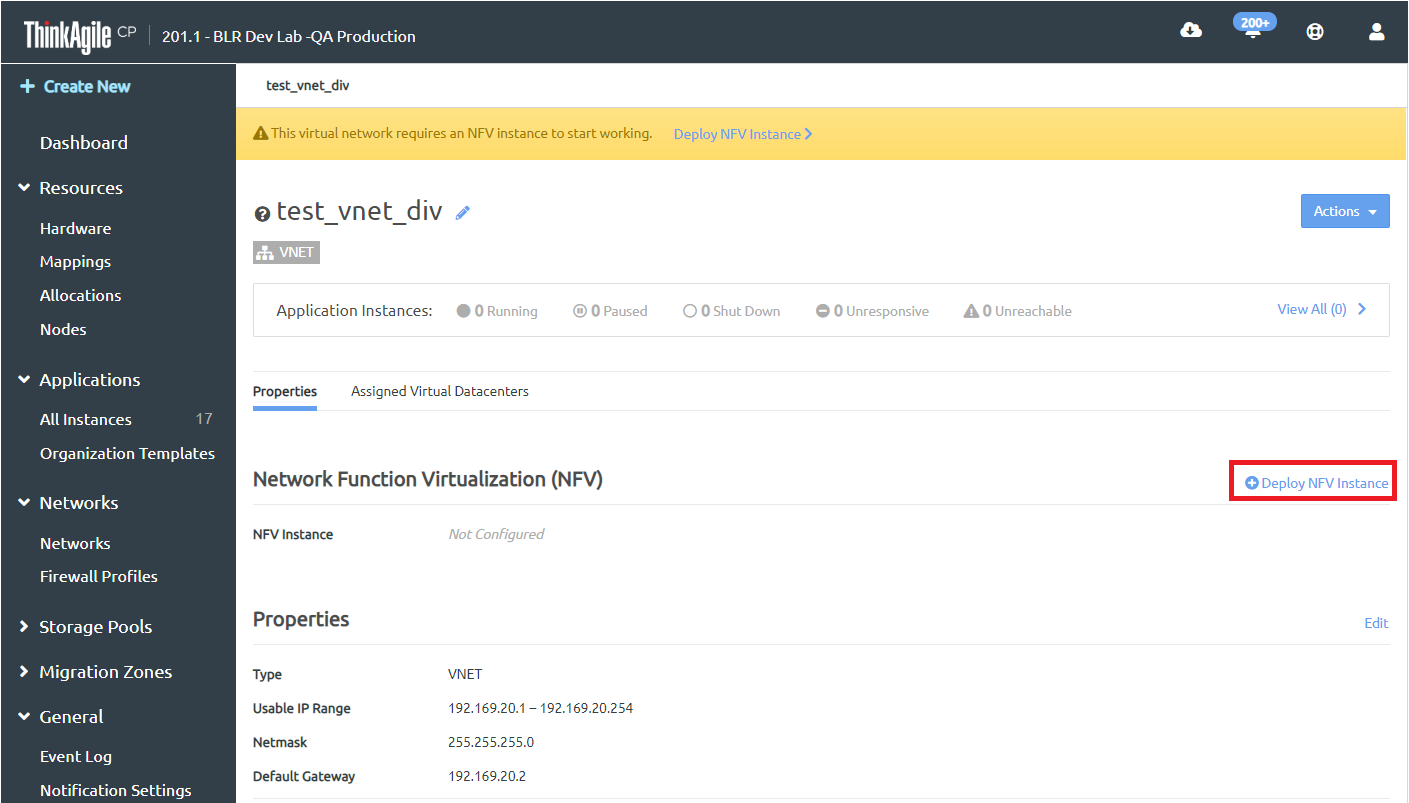
- On the VNET details page for which you want to deploy an NFV, click Deploy NFV Instance next to the Network Function Virtualization (NFV) section, or select Deploy NFV Instance from the Actions menu.Figure 1. Deploy NFV Instance option on VNET page
- Fill in the content for the Deploy NFV Instance dialog.Figure 2. Deploy NFV Instance dialog
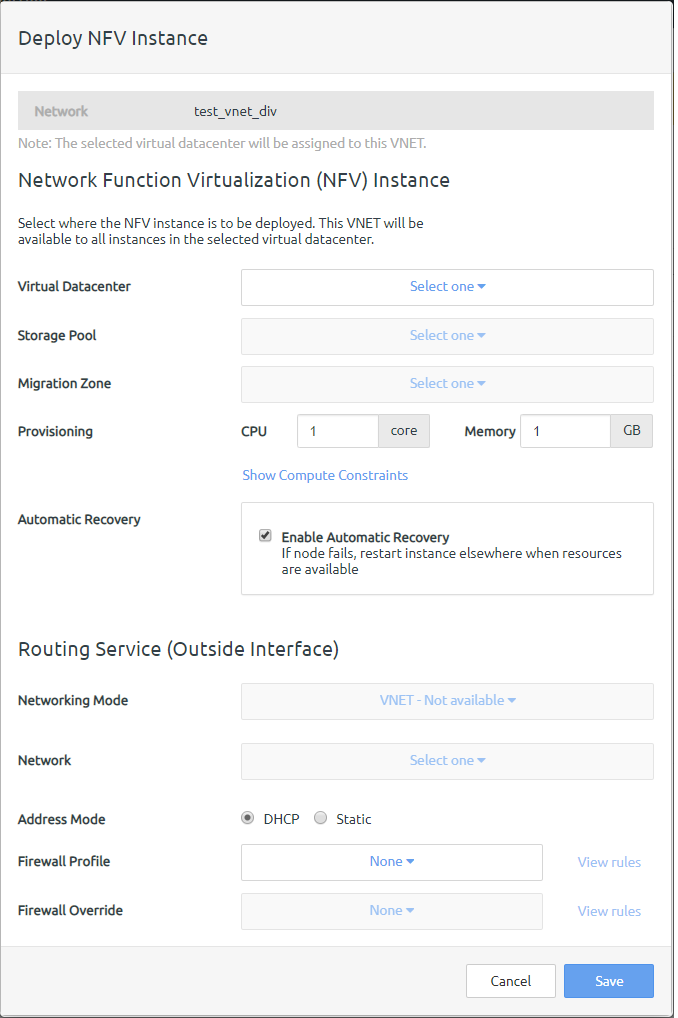 Enter the following information for the NFV instance as needed:
- Virtual Datacenter. Select the virtual datacenter where the NFV instance is to be deployed. This VNET will be available to all instances in the selected virtual datacenter.
- Storage Pool. Select the storage pool for the NFV instance.
- Migration Zone. Select the migration zone for the NFV instance.
- Provisioning. Specify CPU, memory, and other optional compute constraints for the NFV instance.( Click Compute Constraints to view and select compute categories and compute tags as applicable.)
- Automatic Recovery. Click Enable Automatic Recovery to specify that if the node fails, the instance will restart elsewhere when resources are available
- Routing Service/Outside Interface Details (The Outside Interface is used by the Routing Service.)
- Networking Mode. Select the networking mode for external traffic as either VLAN or VNET.
- Network. Select the network for the outside interface.
- Address Mode. Select the address mode as either DHCP (and IP address will be automatically assigned) or Static (to assign an IP address of your choosing). If you select Static, you will then need to add the IP Address, Netmask, and Gateway.
- Firewall Profile. To apply a firewall profile, select a firewall profile from the drop-down menu.
- Firewall Override. To apply a firewall override, select an override from the drop-down menu.
Give feedback