
Removing an adapter

Use this information to remove an adapter.

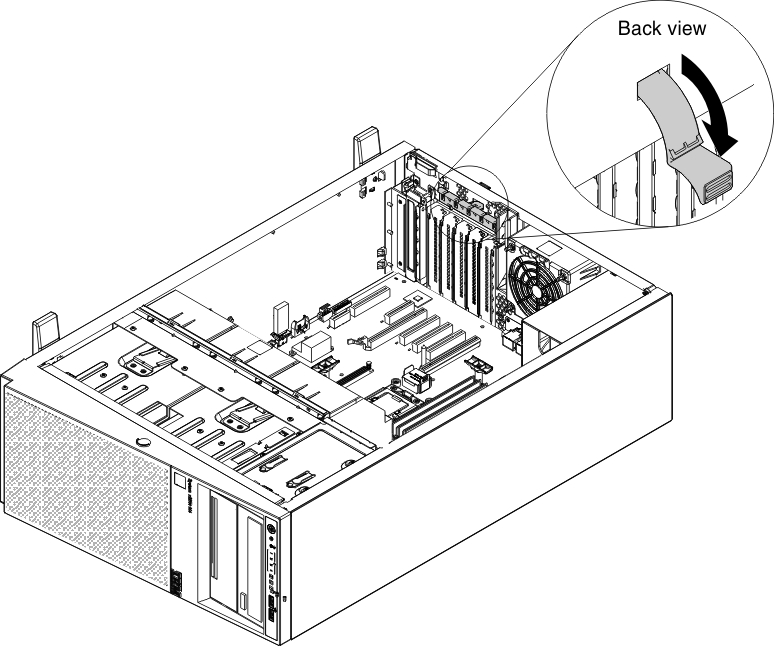
To remove an adapter, complete the following steps:

  1. Read the safety information that begins in Safety and Installation guidelines.
  2. Turn off the server (see Turning off the server) and all attached peripheral devices. Disconnect all power cords; then, disconnect all external cables as necessary to replace the device.
  3. Carefully turn the server on its side so that it is lying flat, with the cover facing up.
    Note
    Do not allow the server to fall over.
  4. Unlock and remove the left-side cover (see Removing the left-side cover).
  5. Remove the air baffle (see Removing the air baffle).
  6. Remove the fan assembly (see Removing the fan assembly).
  7. Disconnect any cables from the adapter.
  8. Press down the release latch from the rear of the server to move forward the adapter-retention brackets to the open position.


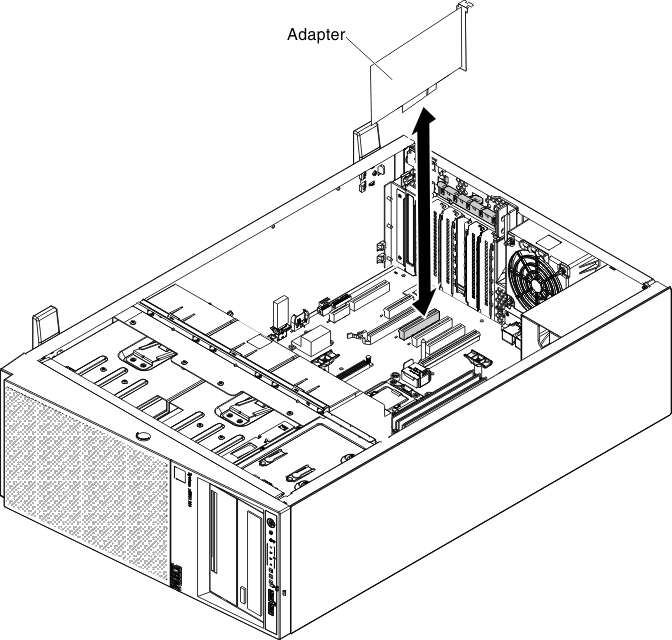
  9. Pull the adapter out of the adapter connector; then, lift the adapter out of the server.

    Note
    • If you have installed the optional ServeRAID adapter memory module, remove it and keep it in future use (see Installing an optional ServeRAID adapter memory module.
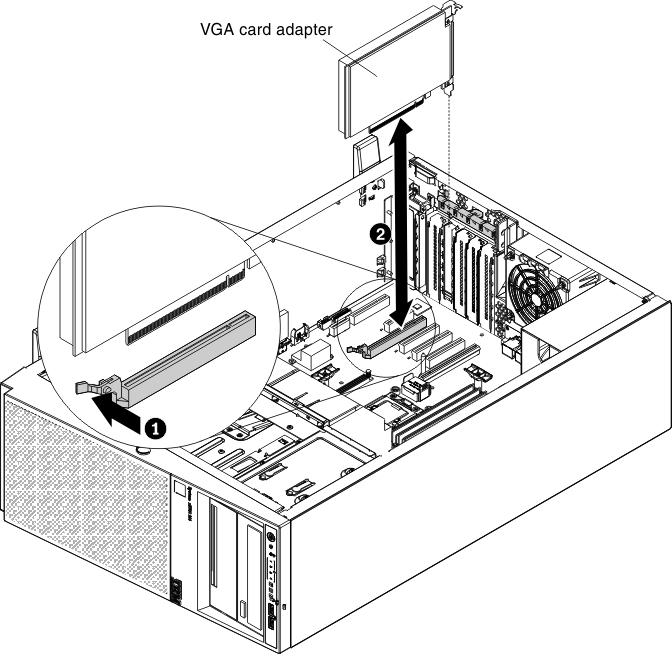
    • If you are installing or removing an adaptor into or from PCI slot 4, you have to press the release latch firstly as step 1 of the following illustration.

  10. Install the PCI slot filler.
  11. Move the adapter-retention brackets back to the close position.
  12. If you are instructed to return the adapter, follow all packaging instructions, and use any packaging materials for shipping that are supplied to you.