
Replacing the front USB connector assembly

Use this information to replace the front USB connector assembly.

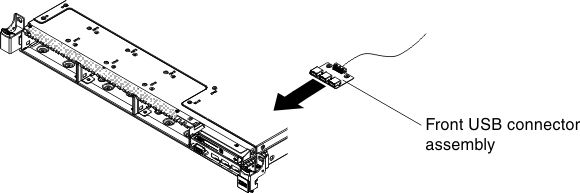
To install the front USB connector assembly, complete the following steps:

  1. Read the safety information that begins on Safety and Installation guidelines.
  2. Turn off the server and peripheral devices and disconnect the power cords and all external cables, if necessary.
  3. Insert the tabs on the bottom of the front USB connector assembly into the holes on the chassis.
    Figure 1. Front USB connector assembly installation
    Front USB connector assembly installation
  4. Rotate the front USB connector assembly upward to the server.
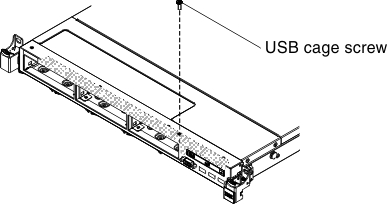
  5. Reinstall the USB cage screw to the chassis.
    Figure 2. USB cage screw installation
    USB cage screw installation
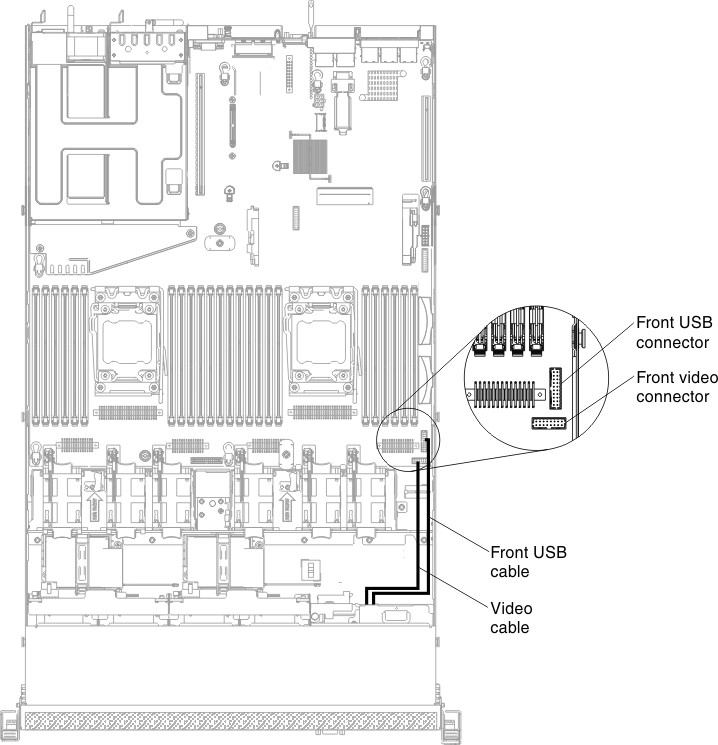
  6. Reconnect the front USB cable to the front USB connector on the system board.
    Figure 3. Front USB and video cables connection
    Front USB and video cables connection
  7. Reinstall the bezel (see Replacing the bezel).
  8. Reinstall the hard disk drives and drive bay filler panels into the drive bays (see Replacing hot-swap hard disk drives or Replacing simple-swap hard disk drives).
  9. Install the cover (see Replacing the cover).
  10. Reconnect the power cords and any cables that you removed.
  11. Slide the server into the rack.
  12. Turn on the peripheral devices and the server.