Replacing the simple-swap drive backplate assembly
Use this information to replace the simple-swap drive backplate assembly.
To install the replacement simple-swap hard disk drive backplate assembly, complete the following steps:
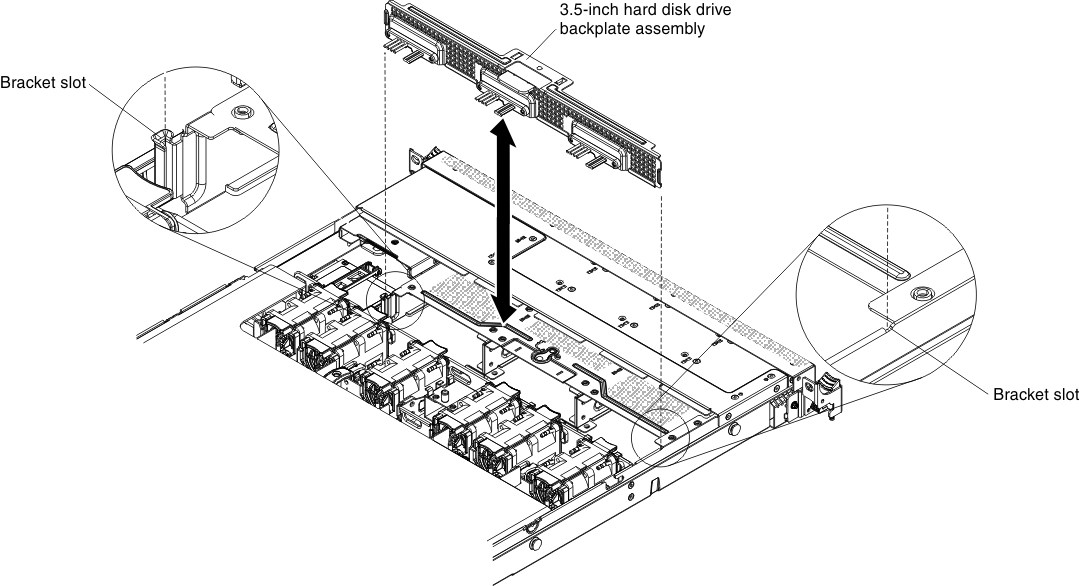
- Install the hard disk drive backplate assembly.If you would like to install the 3.5-inch drive backplate assembly.
- Insert the hard disk drive backplate into the slots on the backplate bracket and push the hard disk drive backplate assembly down until the backplate is seated firmly.Figure 1. Backplate assembly installation
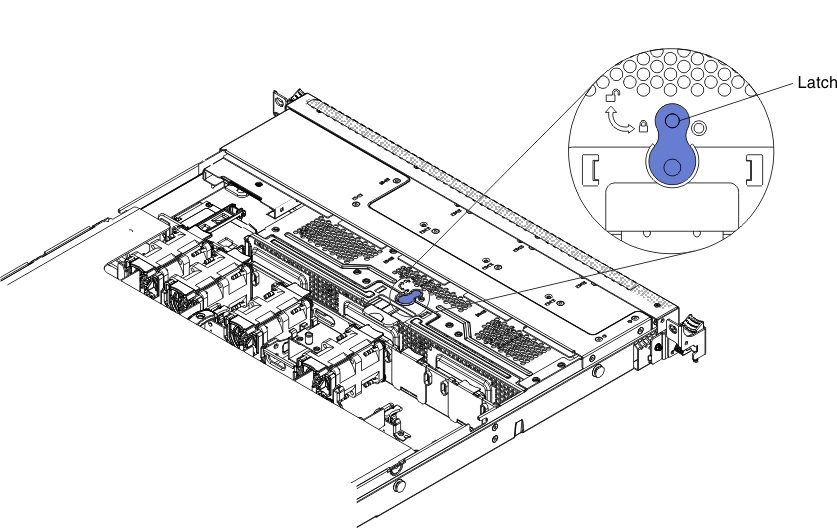
- Adjust the latch to the locked position on 3.5-inch server models.Figure 2. Latch adjustment
- Insert the hard disk drive backplate into the slots on the backplate bracket and push the hard disk drive backplate assembly down until the backplate is seated firmly.
Give documentation feedback