
Replacing the bezel

Use this information to replace the bezel.

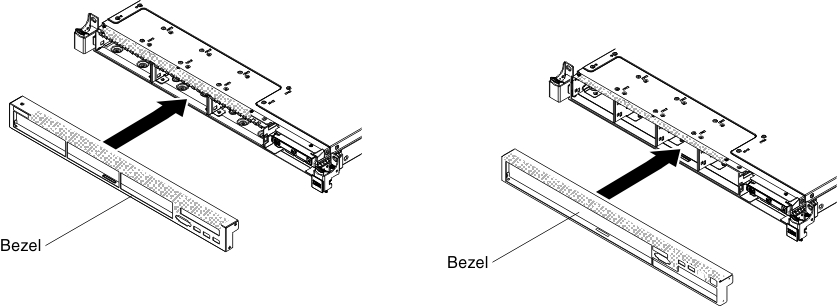
To install the bezel, complete the following steps:

  1. Read the safety information that begins on Safety and Installation guidelines.
  2. Turn off the server and peripheral devices and disconnect the power cords and all external cables, if necessary.
  3. Remove the cover (see Removing the cover).
  4. Insert the tabs on the bottom of the bezel into the holes on the chassis.
    Figure 1. Bezel installation
    Bezel installation
  5. Rotate the bezel upward to the server and reinstall the screws.
    Note
    Use the T8 Torx screwdriver that comes with the new bezel to install the bezel.
    Figure 2. T8 Torx screwdriver
    T8 Torx screwdriver
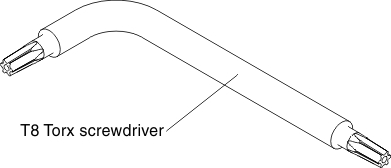
    Figure 3. Bezel screws installation
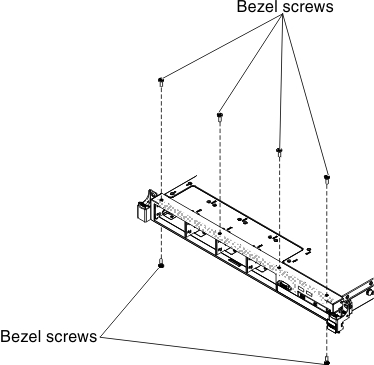
    Bezel screws installation
  6. Reinstall the hard disk drives and drive bay filler panels into the drive bays (see Replacing hot-swap hard disk drives or Replacing simple-swap hard disk drives).
  7. Install the cover (see Replacing the cover).
  8. Reconnect the power cords and any cables that you removed.
  9. Slide the server into the rack.
  10. Turn on the peripheral devices and the server.