Install the server to the rack (slide rails)
Follow the instructions in this section to install the server to the rack equipped with slide rails.
 |  |
| 18 - 32 kg (39 - 70 lb) | 32 - 55 kg (70 - 121 lb) |
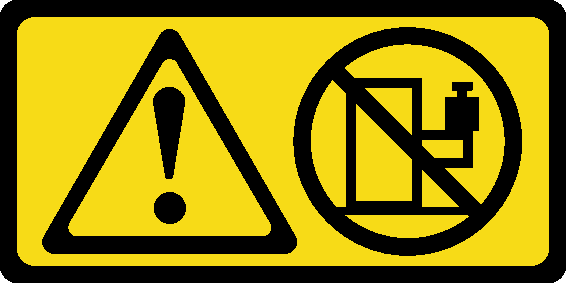
Potential stability hazards exist. The rack might tip over and cause serious personal injury.
Before extending the rack to the installation position, read the Installation Guidelines. Do not put any load on the slide-rail mounted equipment in the installation position. Do not leave the slide-rail mounted equipment in the installation position.
About this task
Read Installation Guidelines and Safety inspection checklist to ensure that you work safely.
Power off the server and peripheral devices and disconnect the power cords and all external cables. See Power off the server.
Prevent exposure to static electricity, which might lead to system halt and loss of data, by keeping static-sensitive components in their static-protective packages until installation, and handling these devices with an electrostatic-discharge wrist strap or other grounding system.
Go to Drivers and Software download website for ThinkSystem SR630 V4 to see the latest firmware and driver updates for your server.
Go to Update the firmware for more information on firmware updating tools.
Procedure
- From the front of the rack, pull the rails all the way out until they stop and remove the inner rails.AttentionYou can only install the server successfully when the rails are fully extended.Figure 1. Pulling out the rails
Rack front
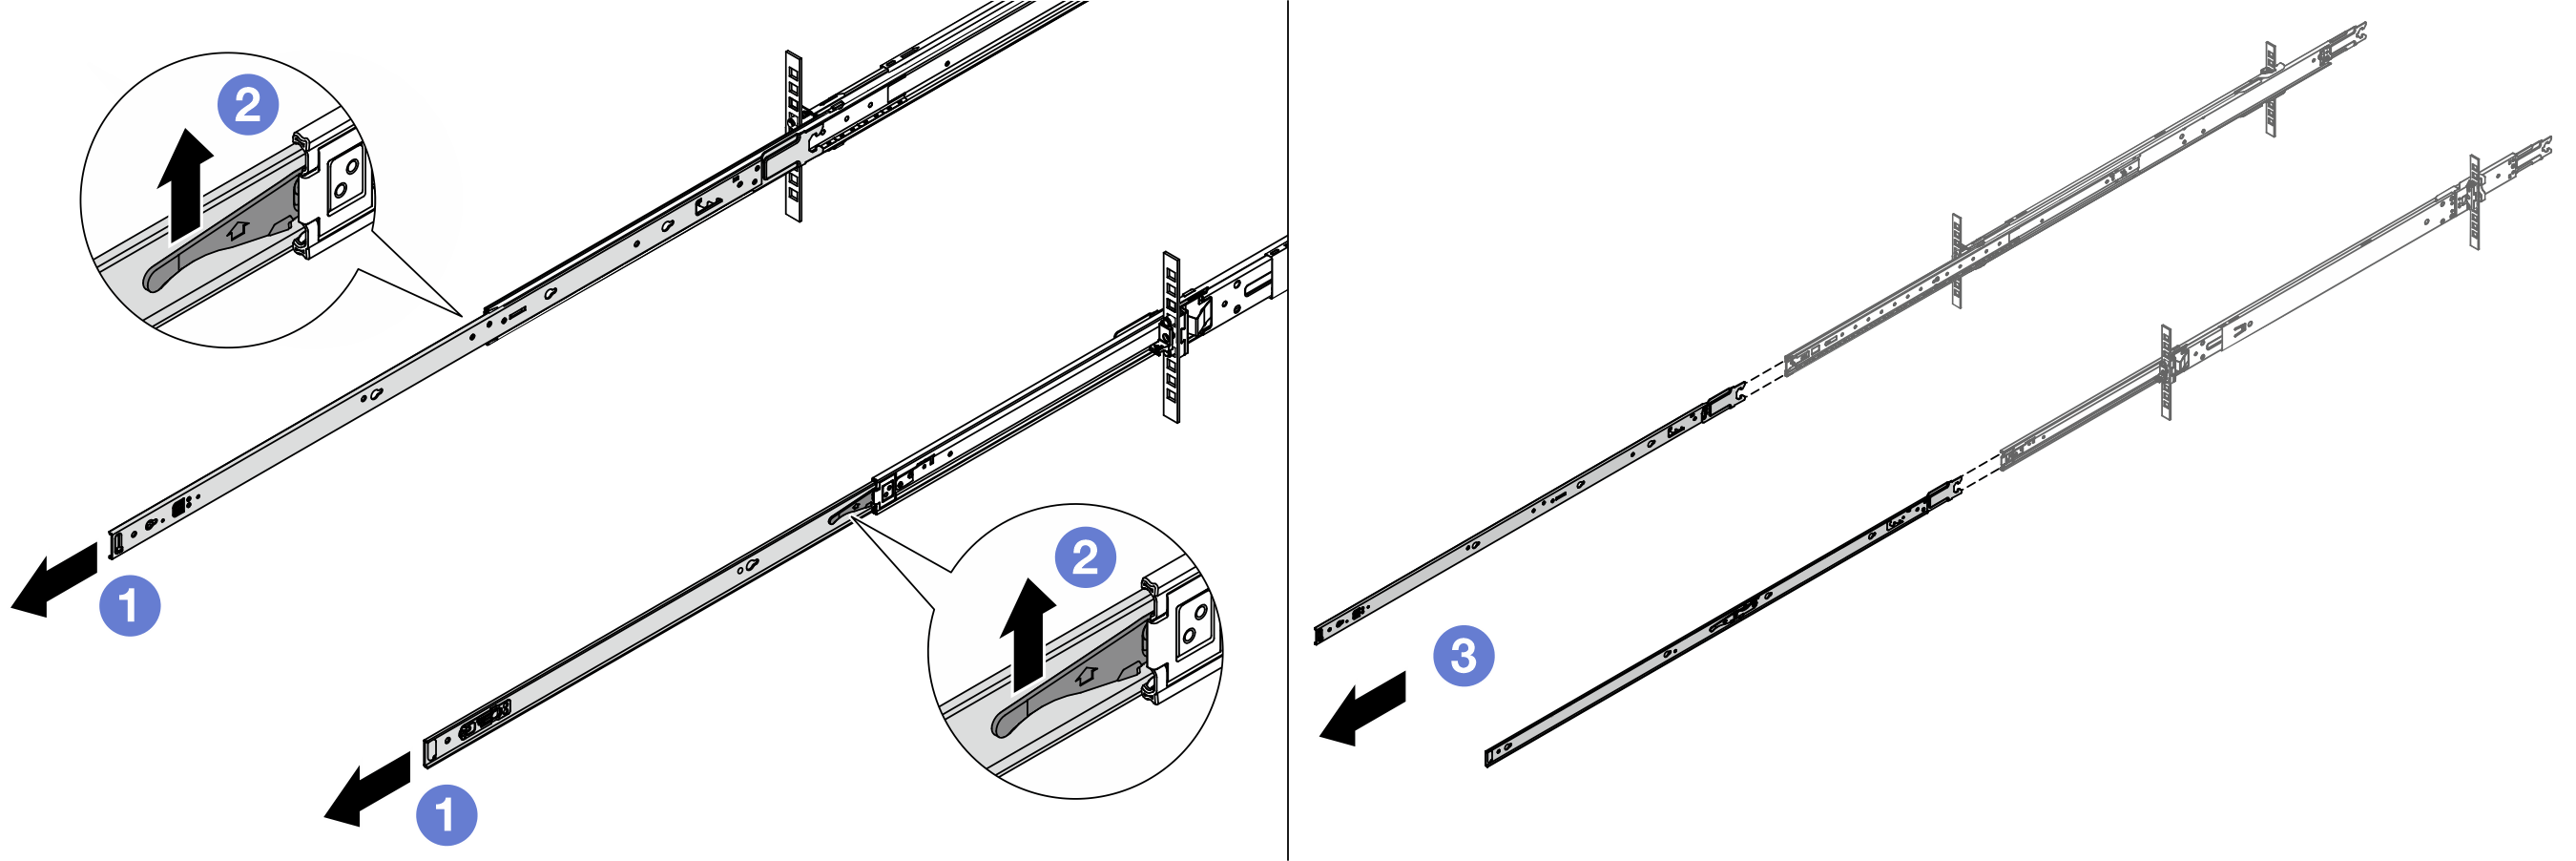
 Extend the inner rails.
 Push up the latches to disengage inner rails from the intermediate ones.
 Remove the inner rails.
- Install the inner rail to the server. Align the slots on the inner rail with the corresponding T-pins on the side of the server; then, slide the inner rail forwards until the T-pins lock into place with the inner rail.Note
Make sure that the stamp “Front” always faces toward the front when assembling the inner rails to the server.
“L” and “R” stamps indicate the left and right sides of the rails.
Figure 2. Installing inner rails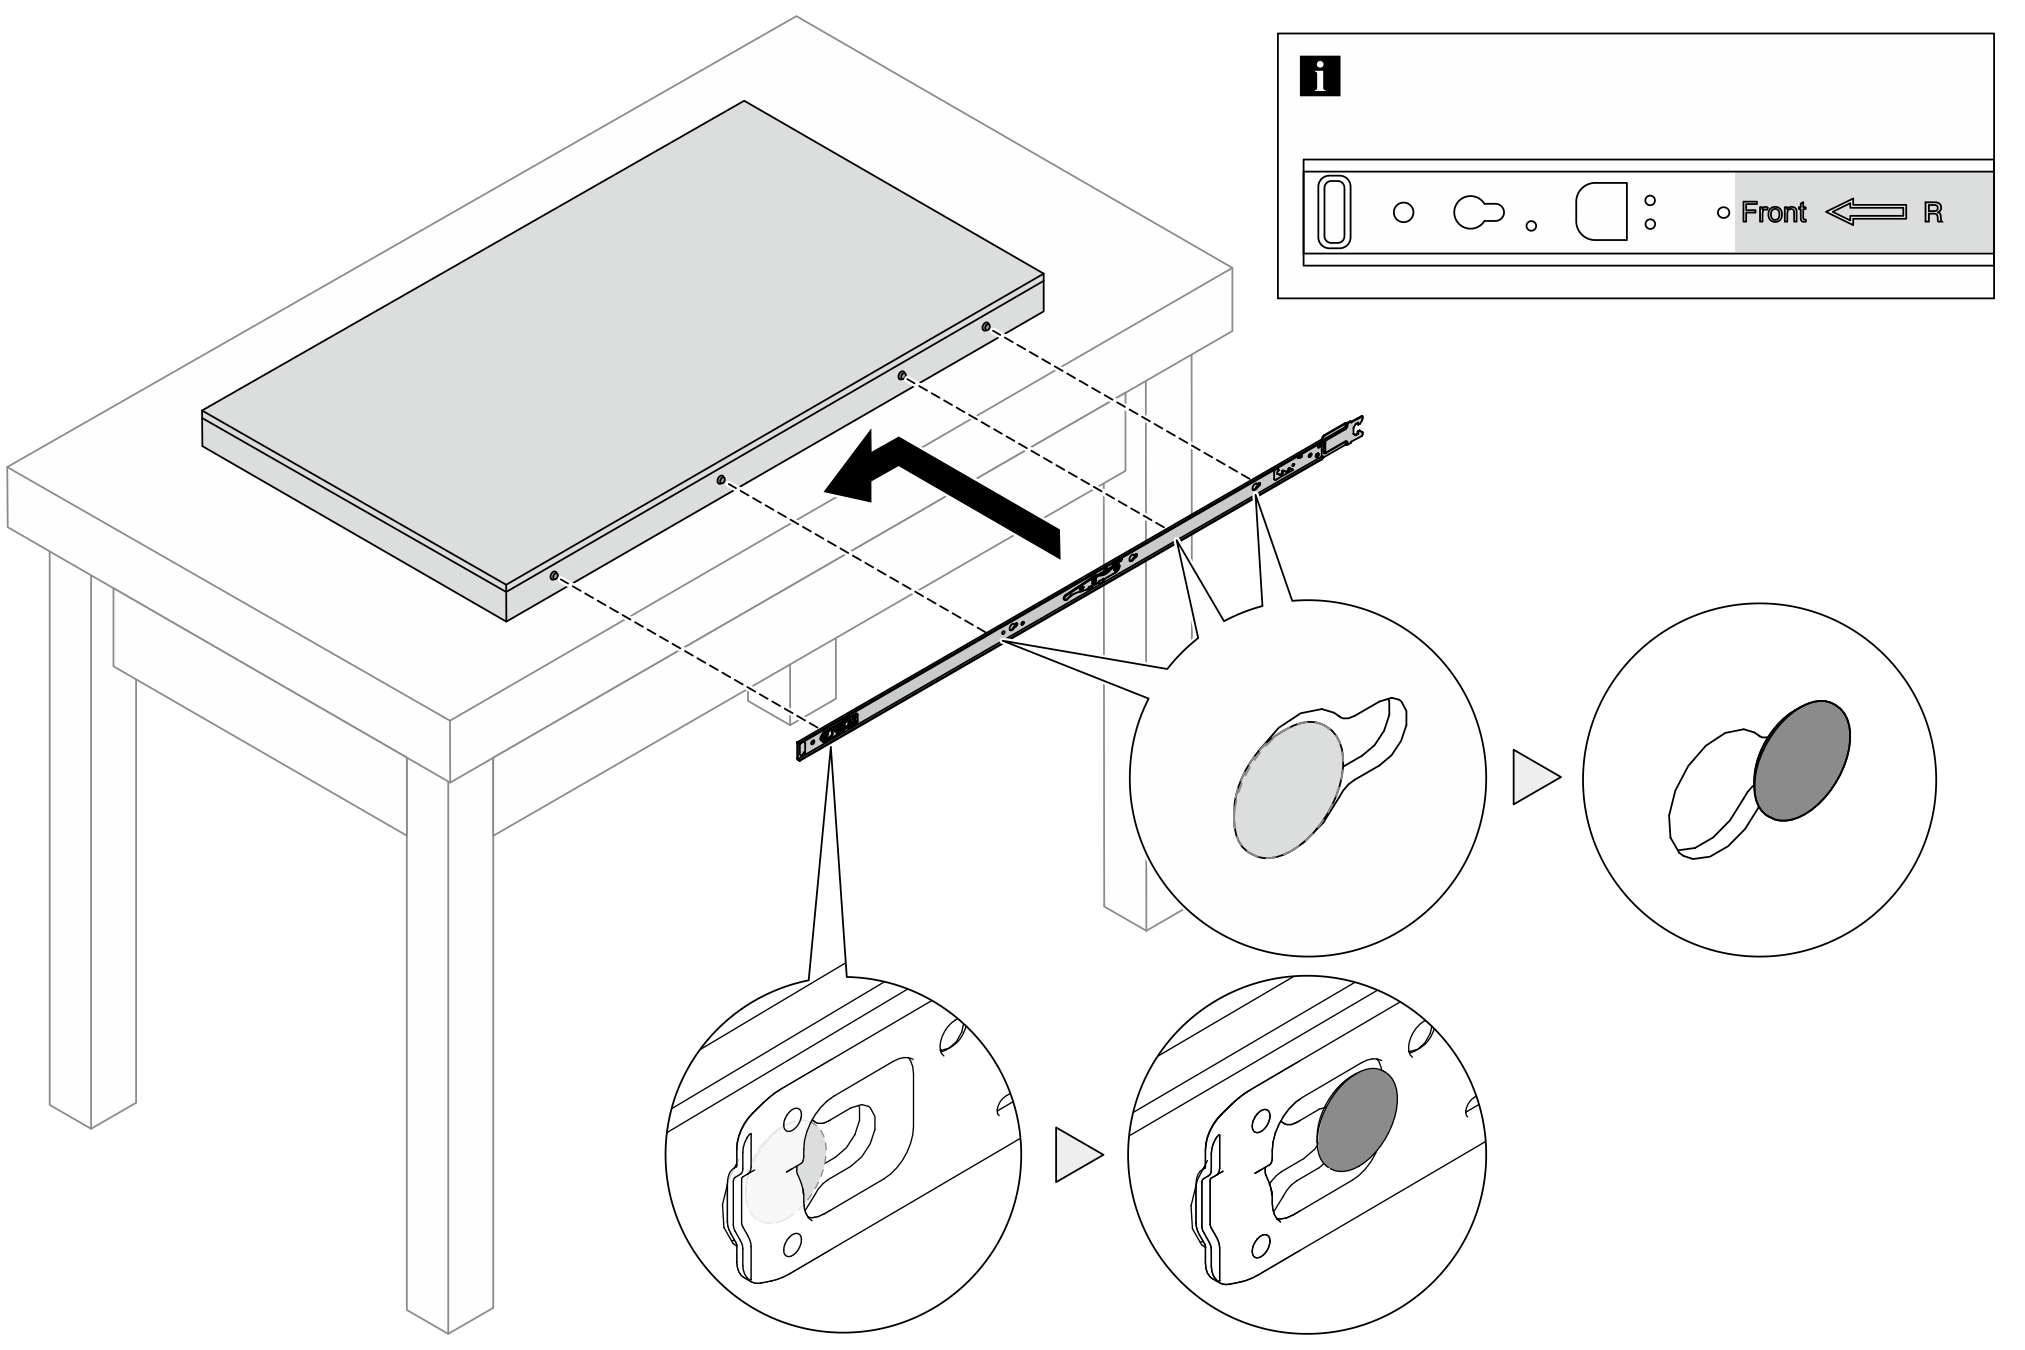
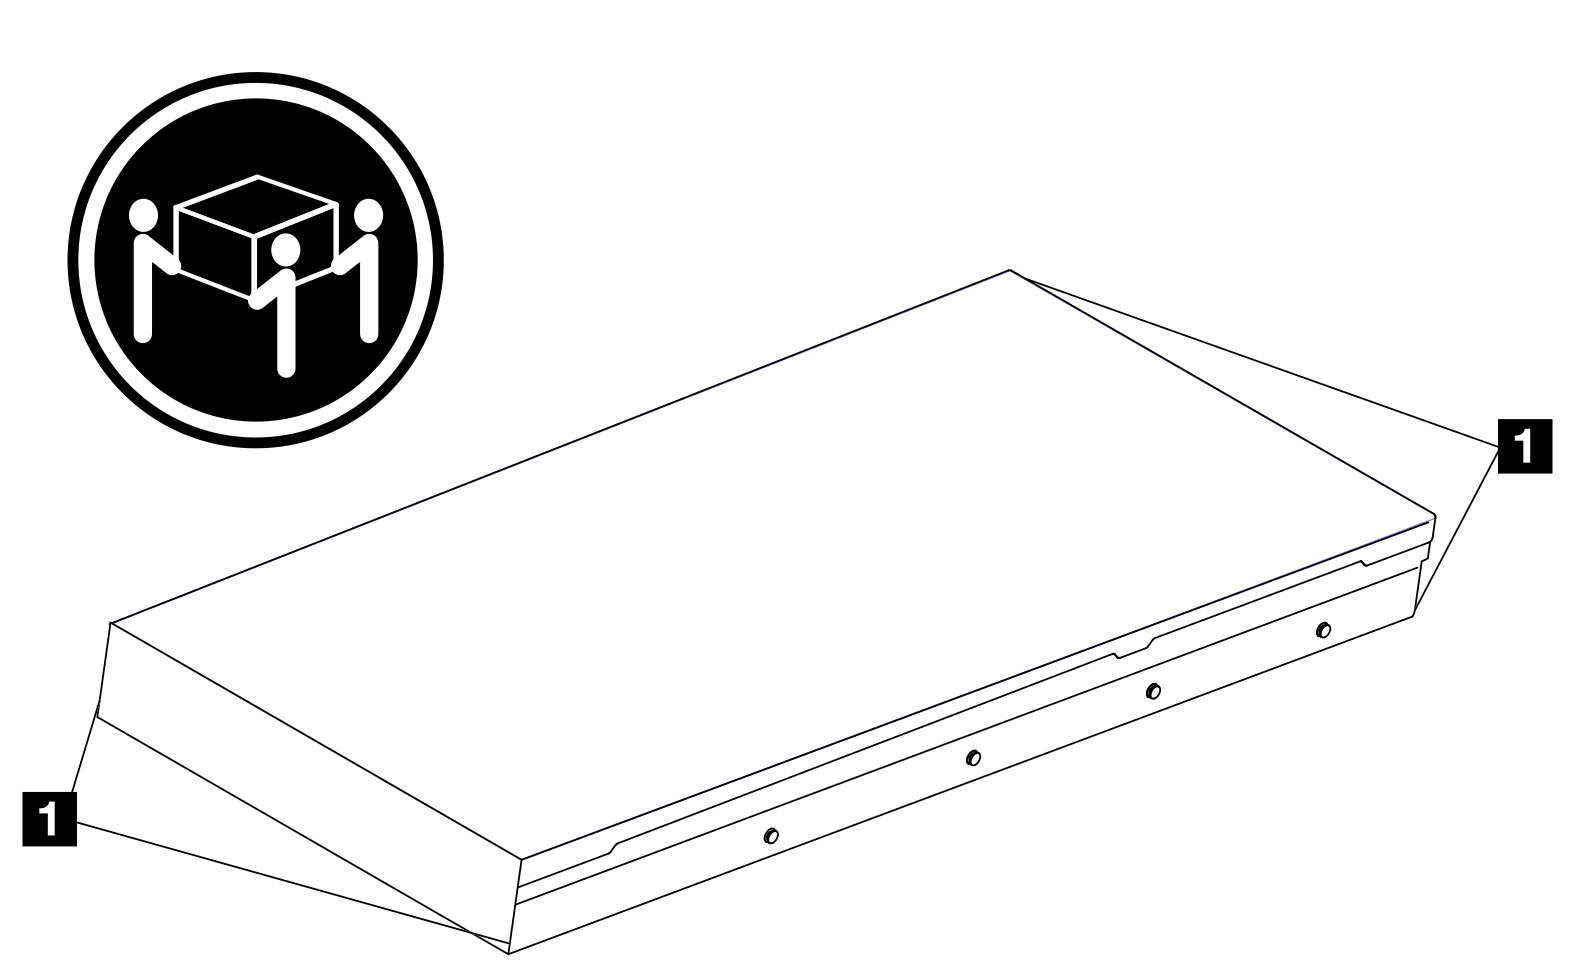
- Carefully lift up the server with three people.CAUTIONMake sure three people are lifting the sever by holding the
1 lift points. Figure 3. Lifting up the serverRack front
- From the front of the rack, install server into the rails.NoteBefore installing the inner rails to the intermediate ones, make sure that the ball retainers on both sides reach the outmost position. If the retainers are not in good position, slide them to the front until they stop.Figure 4. Interlocking rails
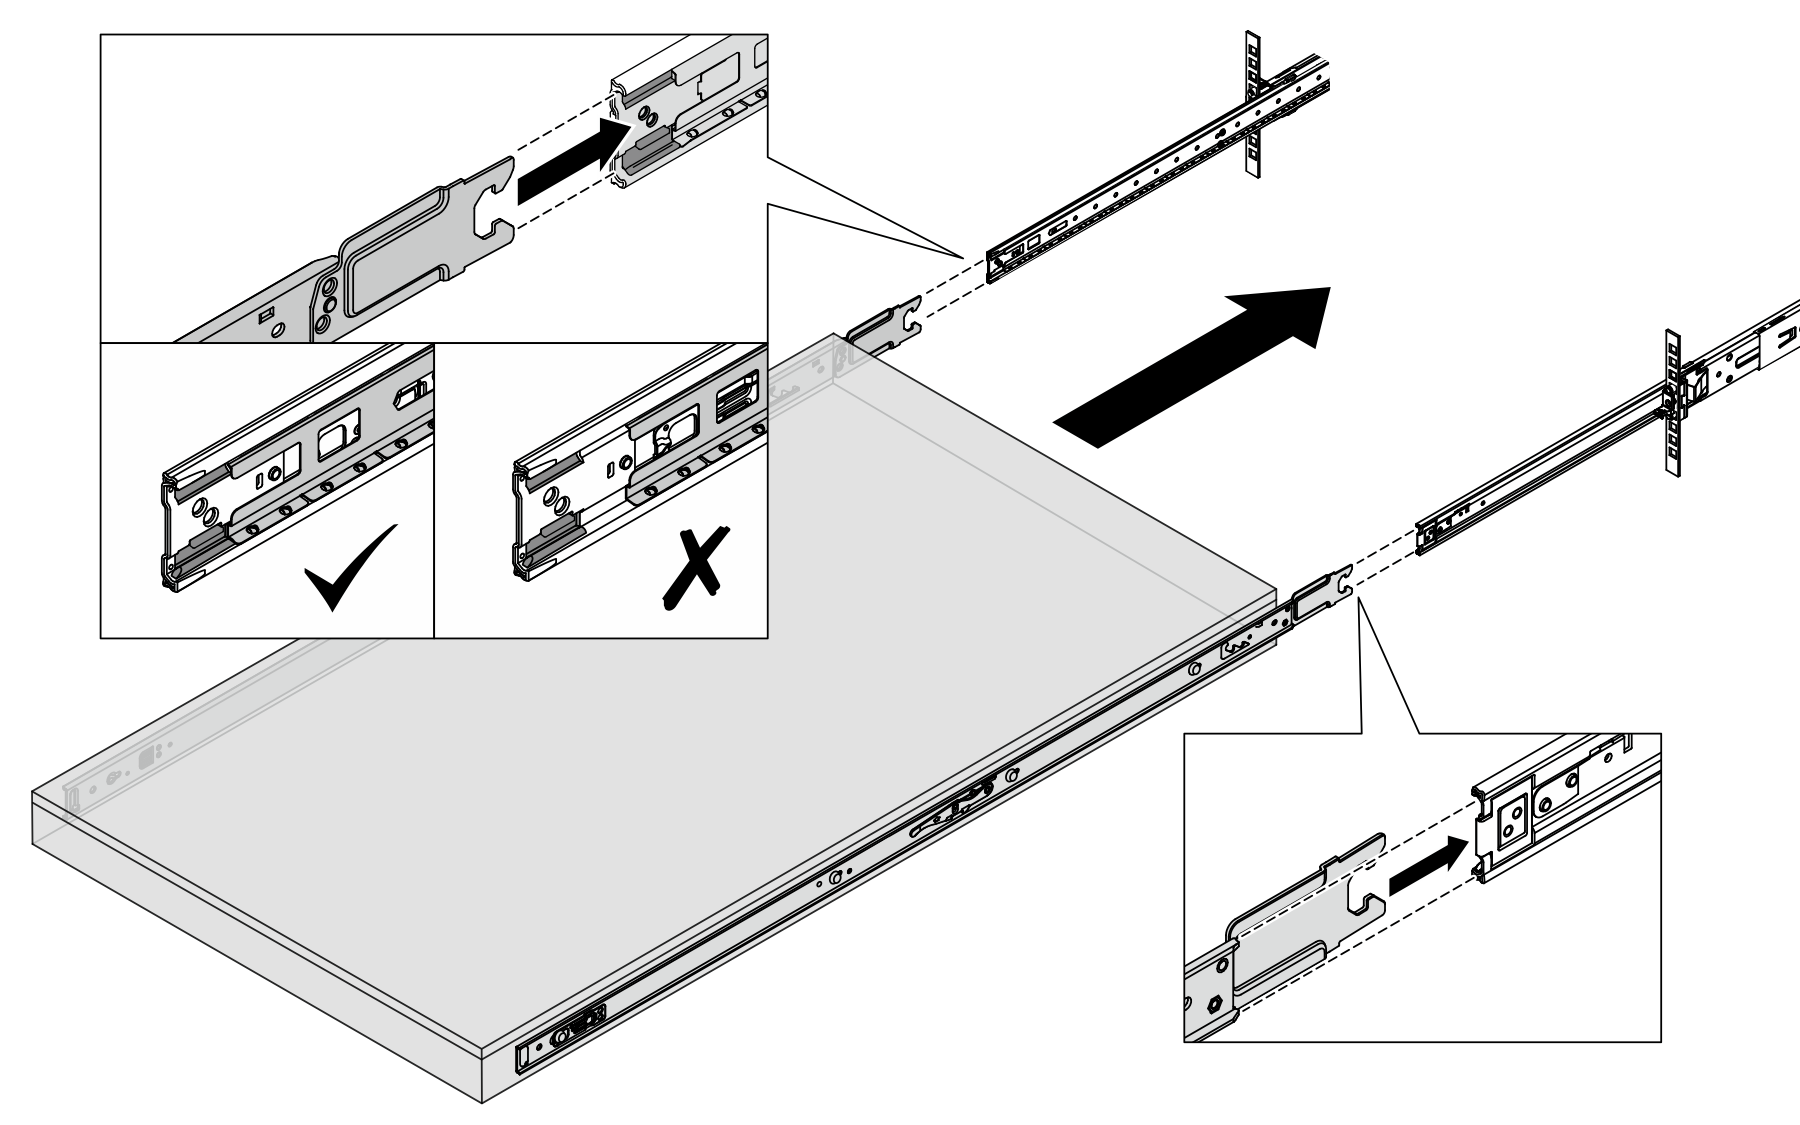 Figure 5. Locking rails and sliding in the server
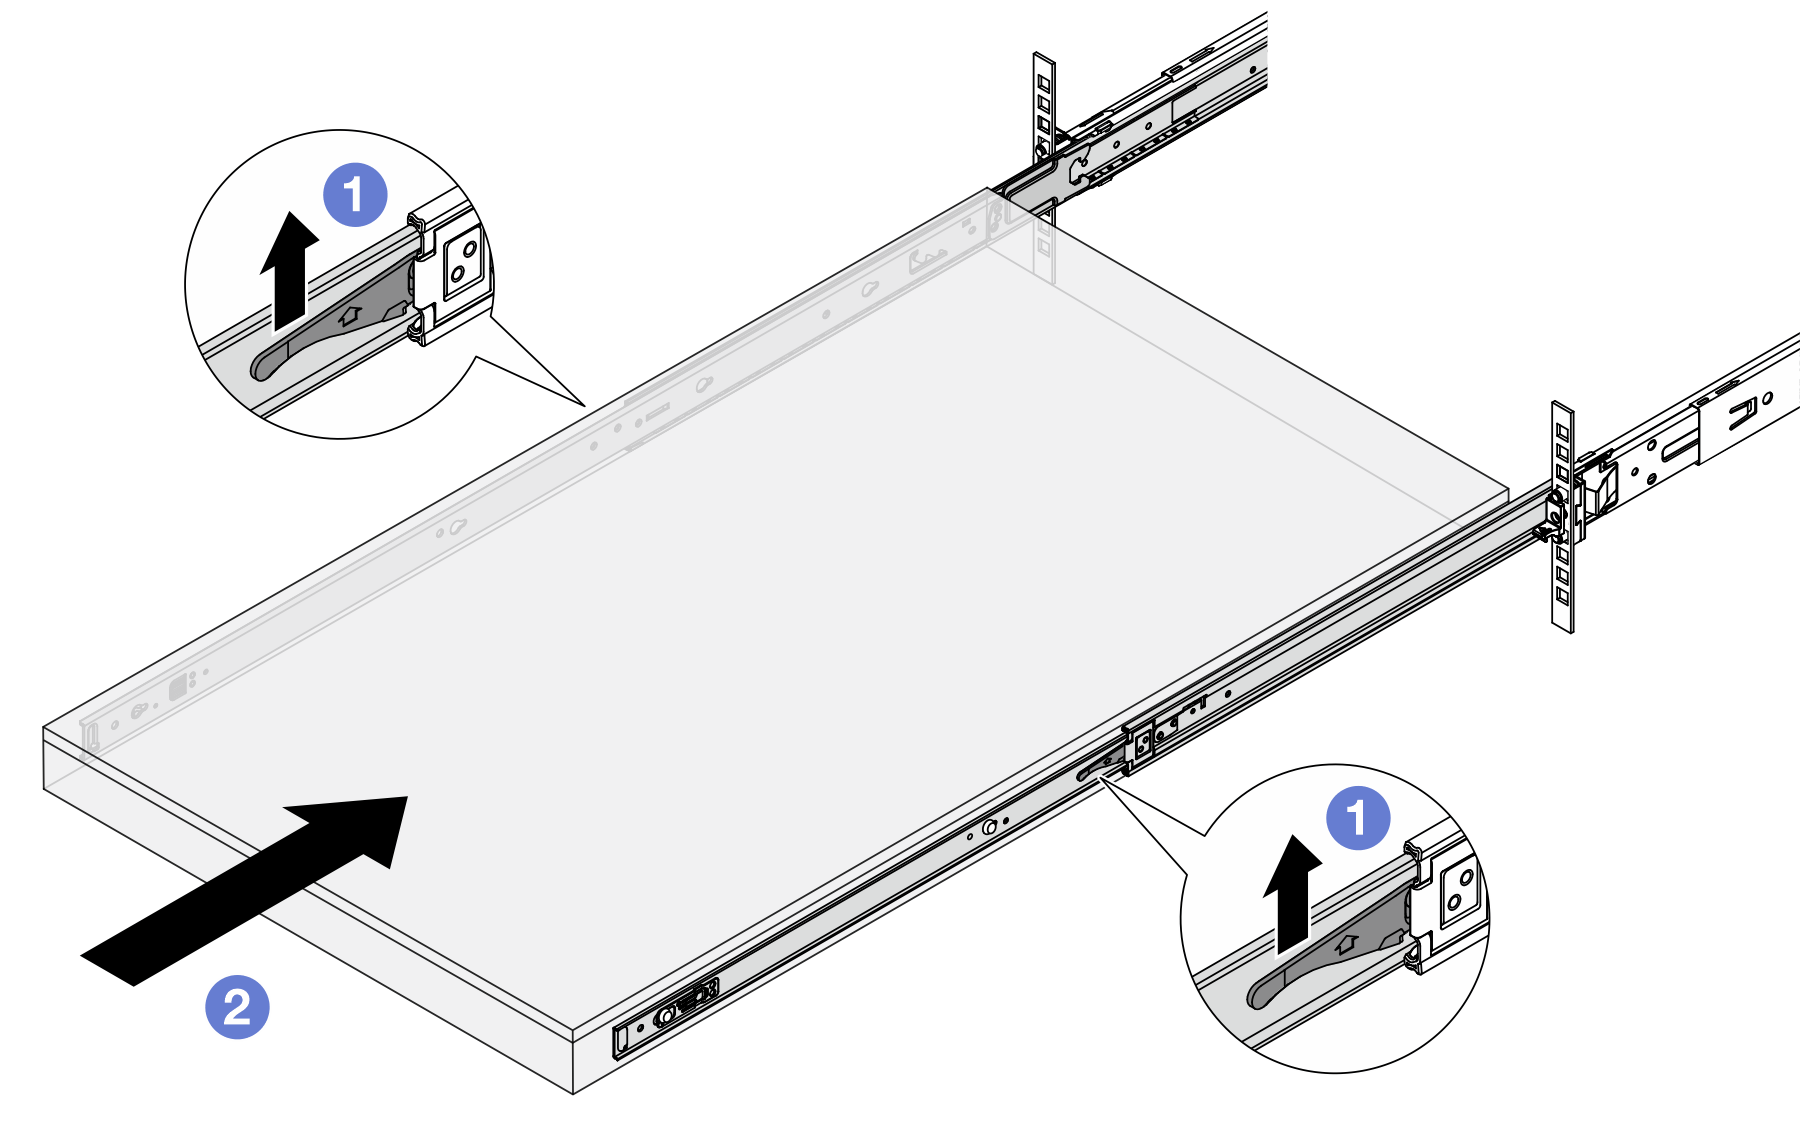
- Push up the latches on the rails.
- Push the server all the way into the rack until both latches lock into position with a click.
- Secure the server to the rack.
- Secure the server to the front of the rack.Figure 6. Securing the server to the front of the rack
Rack front
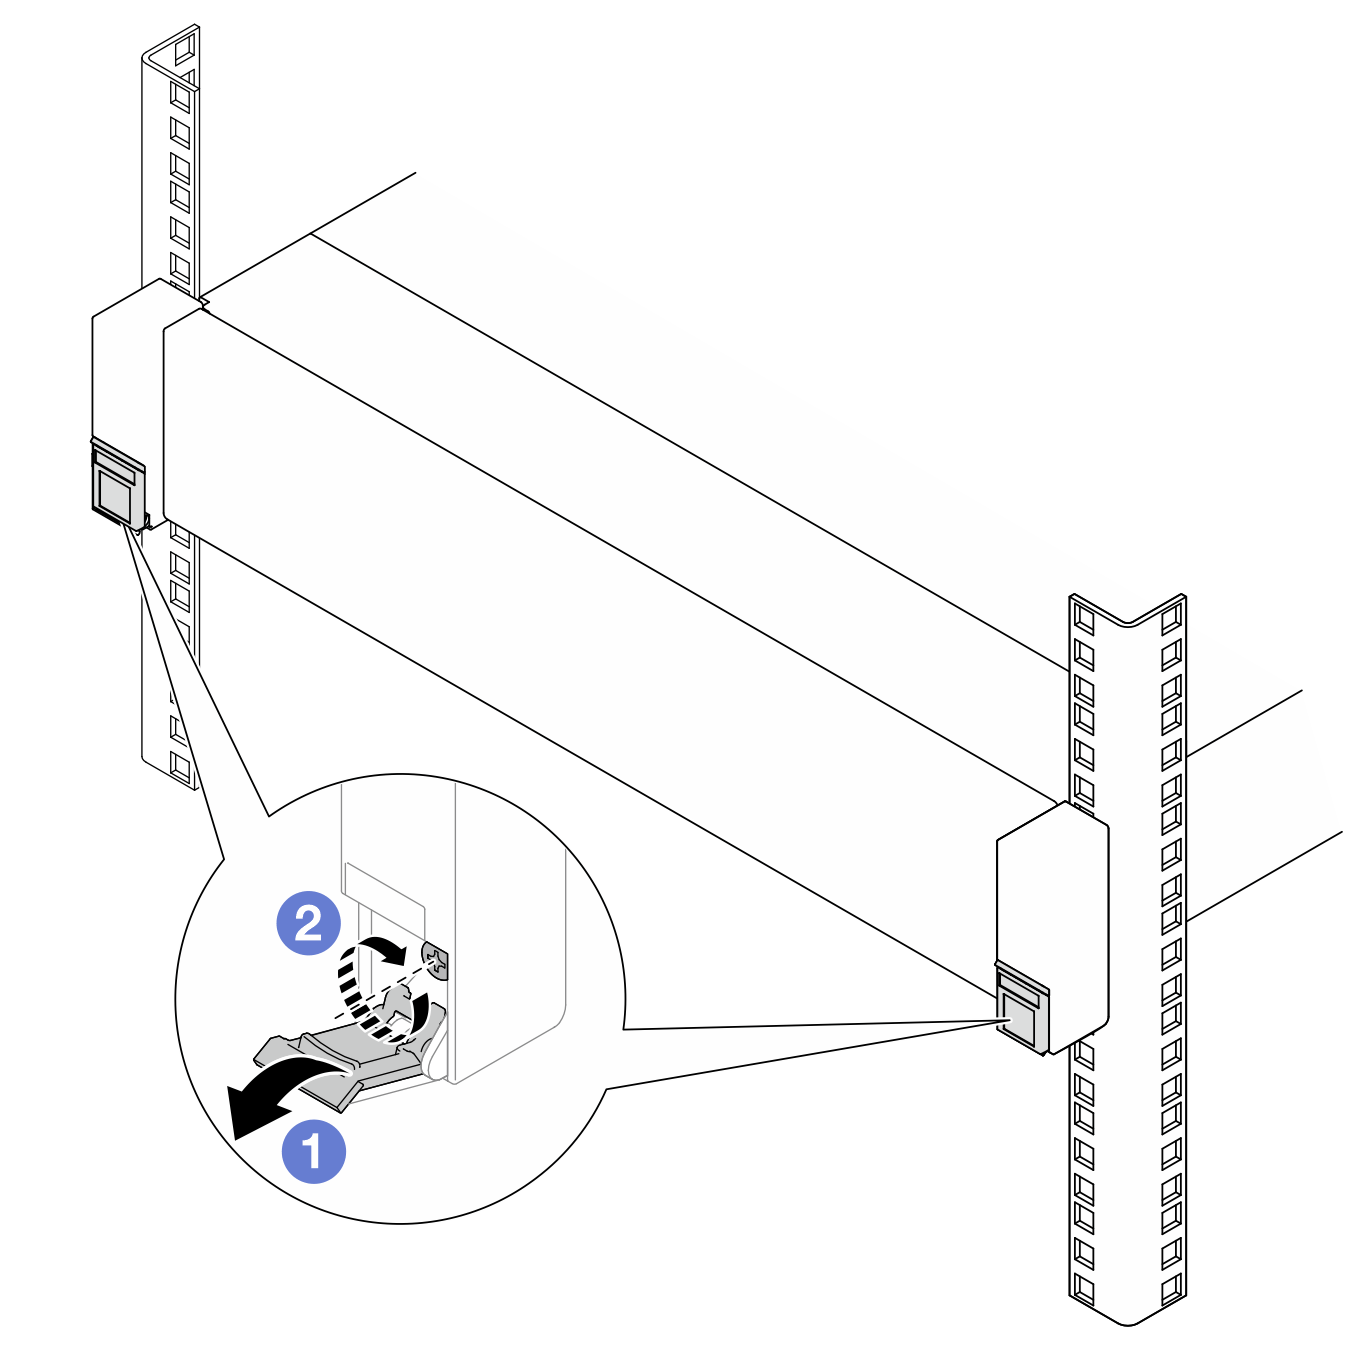
- Flip down the covers on the rack latches.
- Tighten the screws to secure the server.
- (Optional) Install one M6 screw to each of the rails to secure the server to the rear of the rack.Figure 7. Securing the server to the rear of the rack
Rack rear

- Secure the server to the front of the rack.
Reconnect the power cords and any cables that you removed.
Power on the server and any peripheral devices. See Power on the server.
Update the server configuration. See Complete the parts replacement.