Remove a hard disk drive backplane (lower tray)
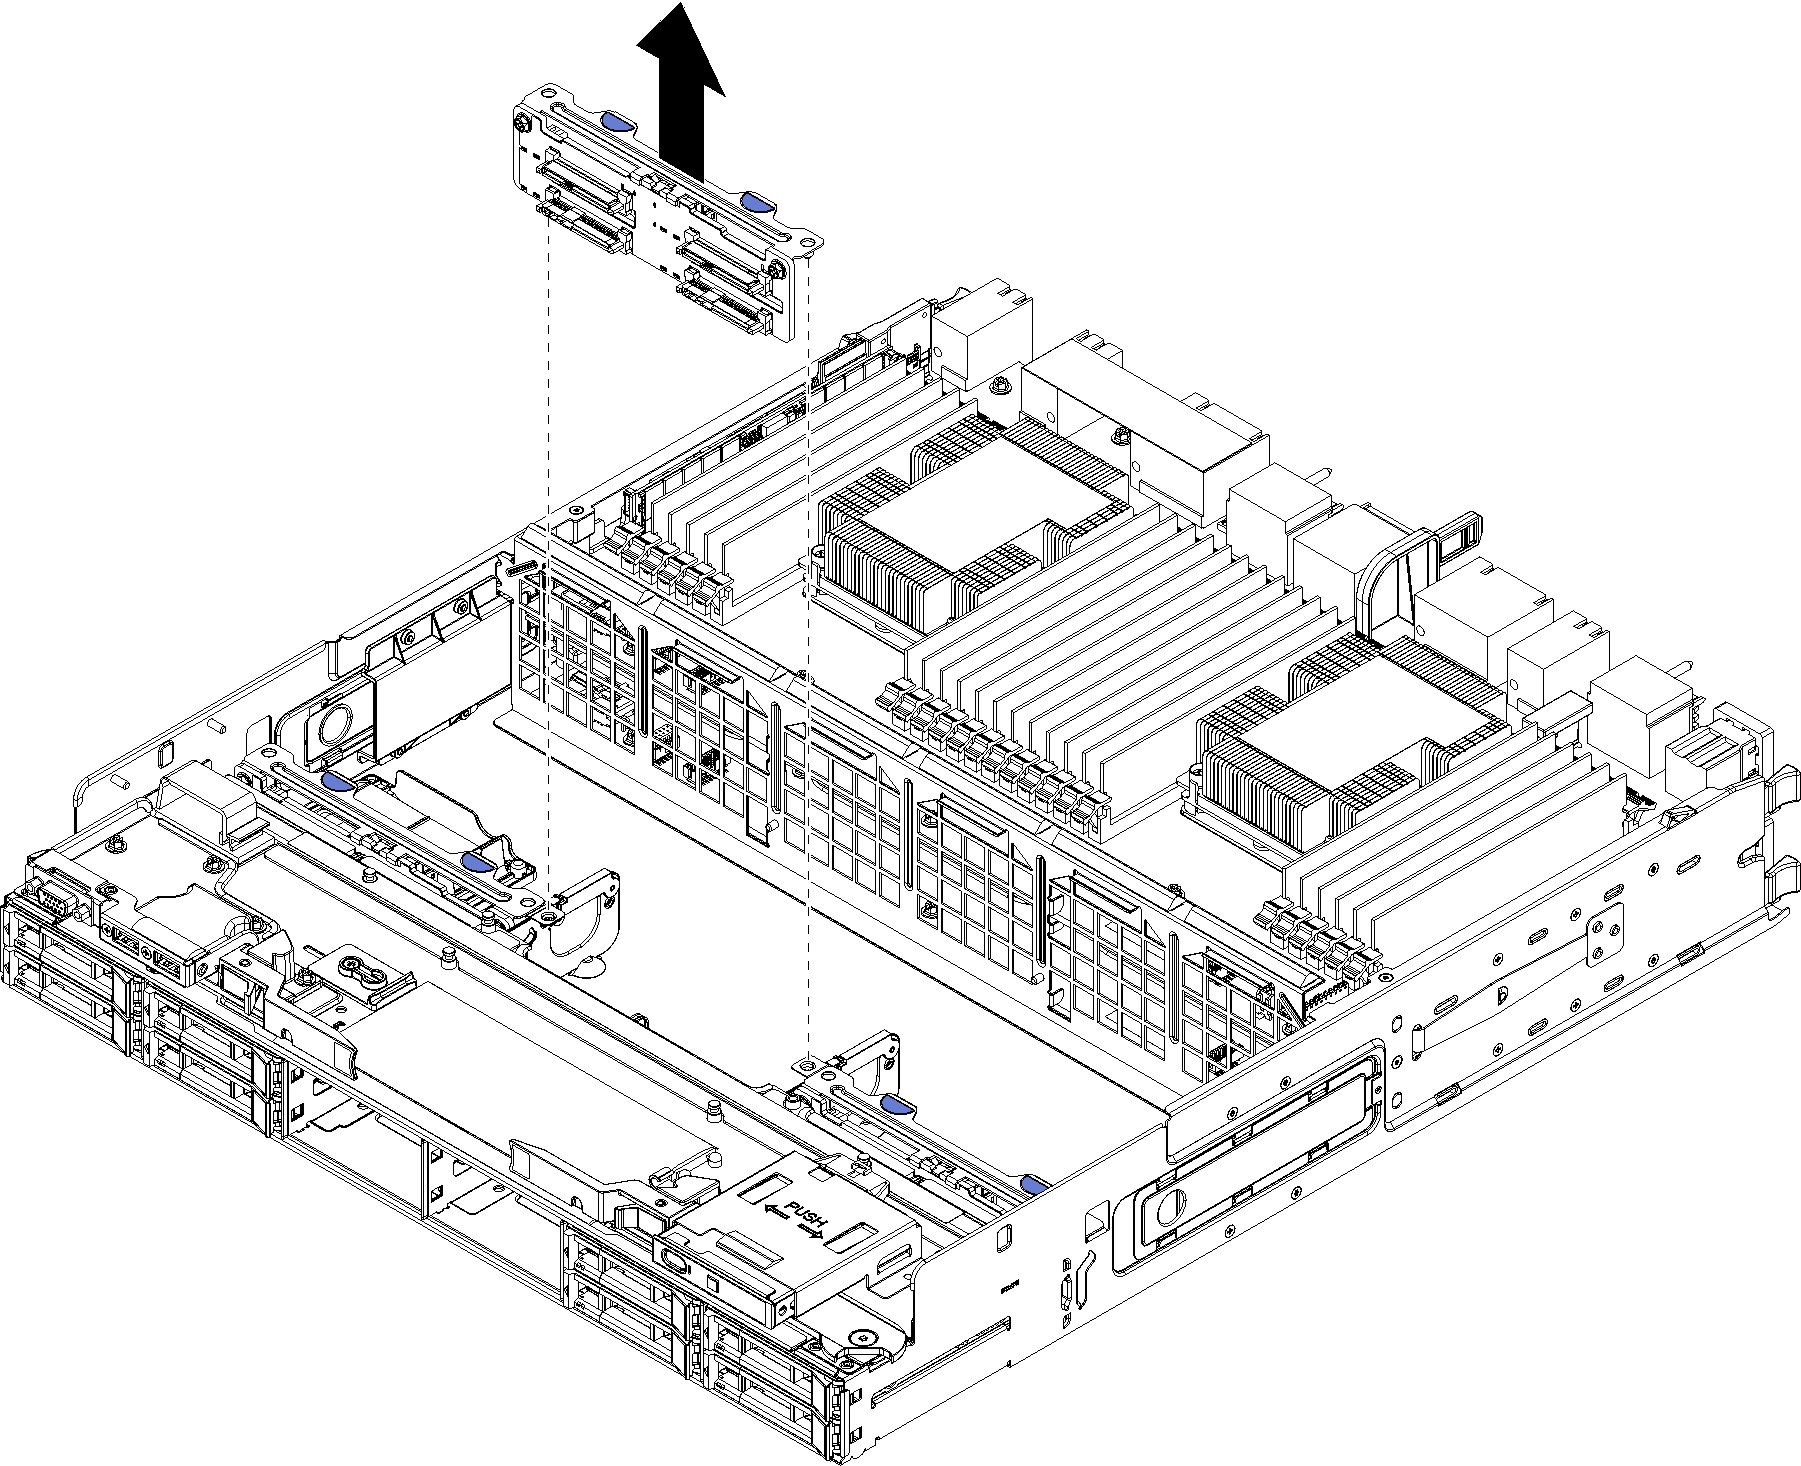
Hard disk drive backplanes in the lower compute tray are accessed from the front of the server. There are several types of hard disk drive backplane. Steps that are backplane specific are noted in each procedure.


Before you remove the hard disk drive backplane:
Remove the front cover. See Remove the front cover.
After noting their locations, remove any hard disk drives that are installed in the lower compute tray. See Remove a hard disk drive.
Remove the lower compute tray. See Remove a compute tray.
Remove the fan cage. See Remove a fan cage (lower tray).
Move or remove the storage interposer to access the hard disk drive backplanes. See Remove a storage interposer (lower tray).
Move cables and harnesses to provide a clear path for accessing the hard disk drive backplanes and their connectors.
Complete the following steps to remove the hard disk drive backplane:
If you are not installing another hard disk drive backplane, after you remove the hard disk drive backplane:
Replace or reposition the storage interposer. See Install a storage interposer (lower tray).
Make sure that all cables are routed and connected.
Install the fan cage. See Install a fan cage (lower tray).
Install the lower compute tray. See Install a compute tray.
Install the front cover. See Install the front cover.
If you are instructed to return the backplane, follow all packaging instructions and use any packaging materials that are provided.
Demo video
