Configure migration defaults
You need to set the ThinkAgile CP migration default settings, which includes defining the location for the target VMs.
- Click Settings in the top navigation bar.Figure 1. Migration Manager menu - Settings

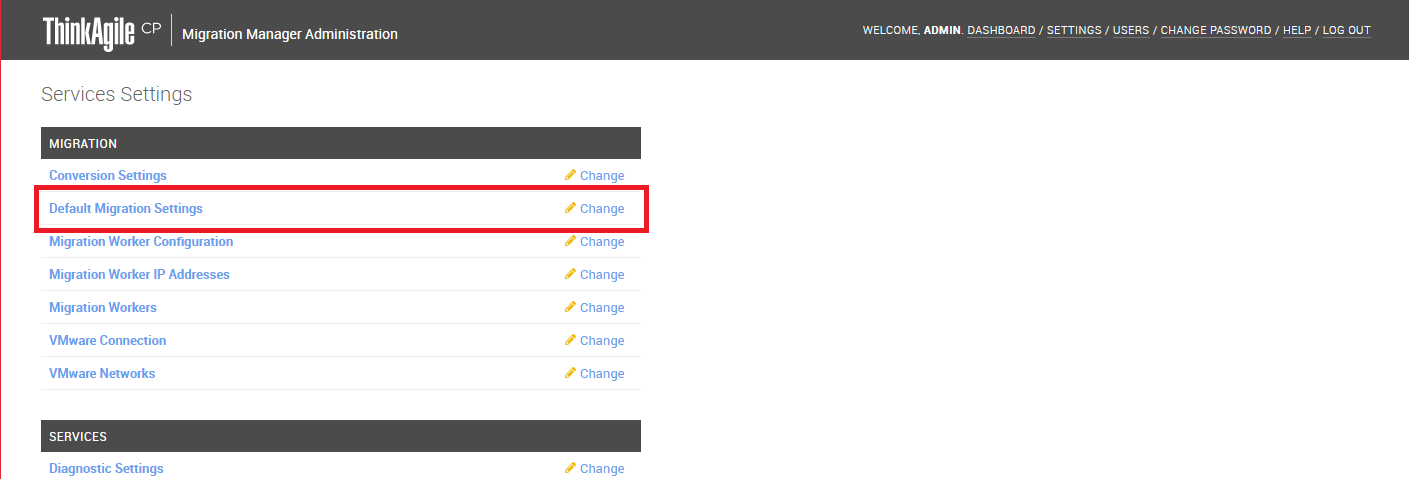
- On the Settings page, click ThinkAgile CP Migration Defaults.Figure 2. Migration Manager Settings
The Change ThinkAgile CP Migration Defaults page opens.
Figure 3. Change ThinkAgile CP Migration Defaults page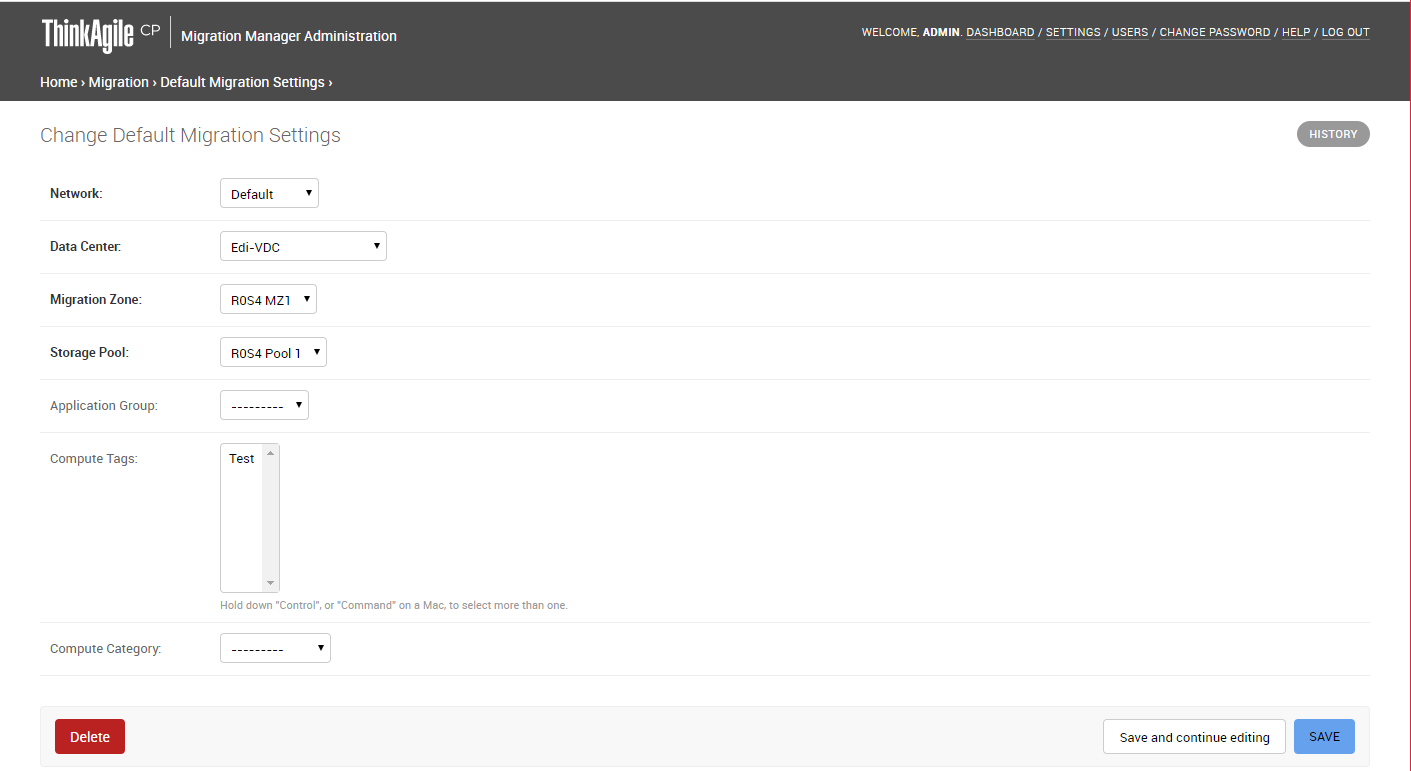
Give feedback