Infrastructure admin users and VDC manager users can add additional virtual disks to an application instance.
Complete the following steps to add a vDisk to an application instance:
- Log in to the ThinkAgile CP Cloud Controller as an infrastructure admin or VDC manager user.
- Expand the VDC that contains the application instance and click VDC Instances.
Figure 1. VDC instances page 
- Click the application instance to display the details for that instance. Then click the Profile tab.
Figure 2. Profile tab 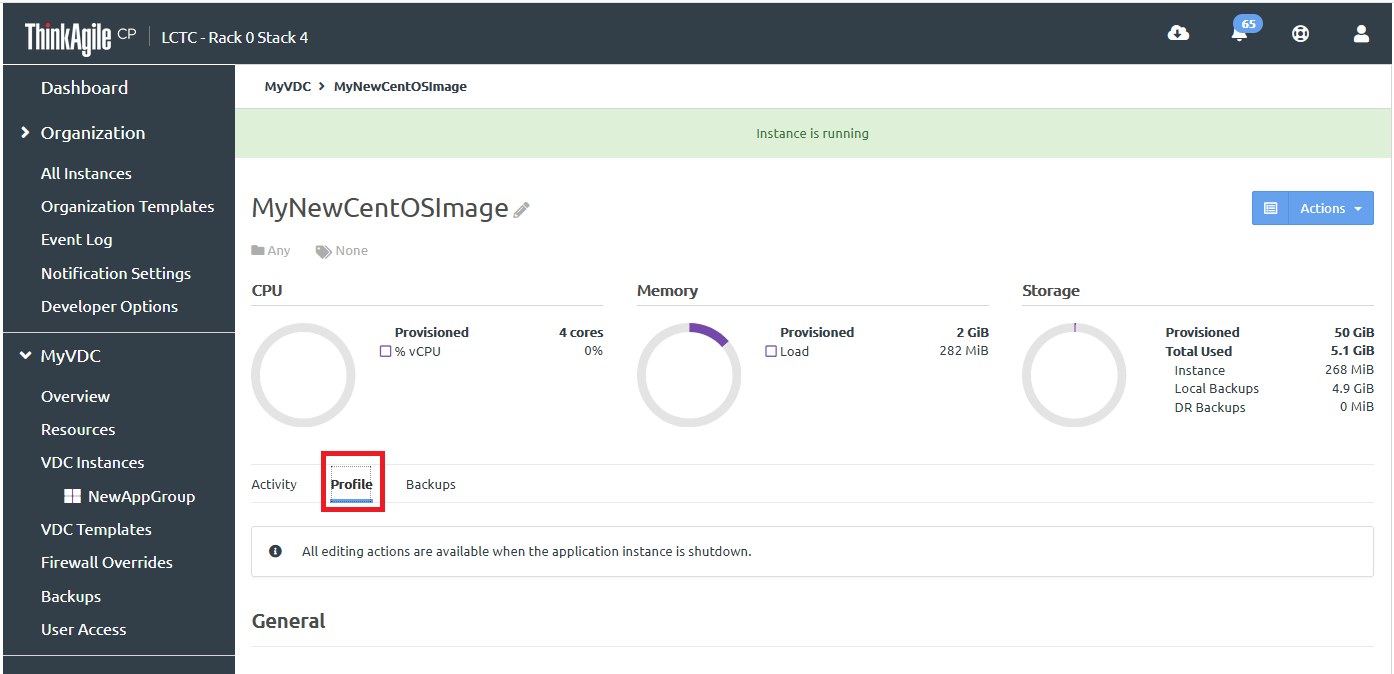
- Scroll down to the Storage section and clock .
Figure 3. New vDisk option 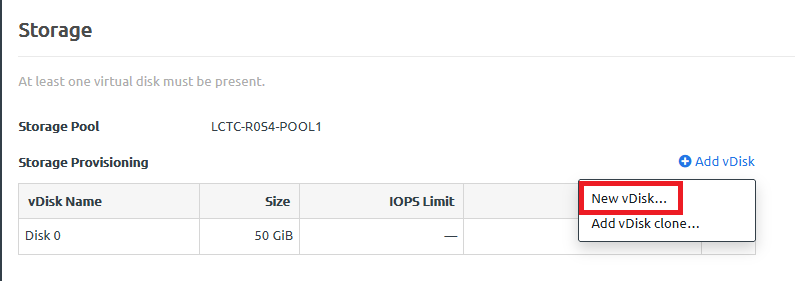
- In the New vDisk dialog, enter the vDisk Name and size (in GiB).
Figure 4. Add vDisk dialog box 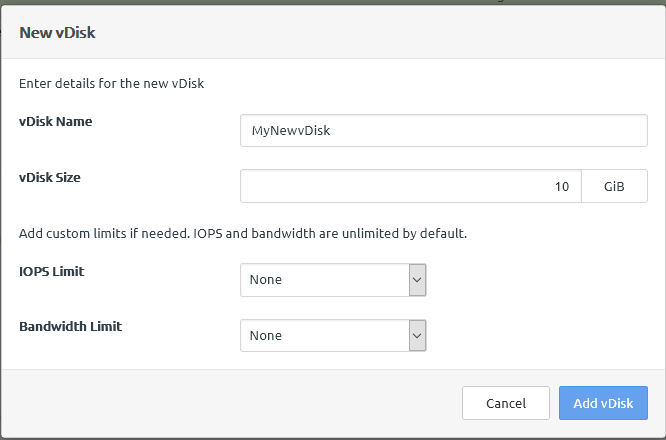
- If needed, set IOPS and Bandwidth limits.
Setting these limits is useful for Quality of Service (QoS) monitoring and maintaining performance predictability of running workloads. (IOPS and bandwidth limits are unlimited by default.) Storage QoS limits ensure that the application instance does not consume more than the specified limit of IOPS or bandwidth. Other factors, including your specific workload and other workloads running on the storage block, may prevent your application instance from reaching these limits. When you update these limits, it may take some time for the system to respond; for example, it could take up to three to five minutes for you to see results.
For more information about working with IOPS and bandwidth limits, see the following topic:
Modify IOPS and bandwidth limits
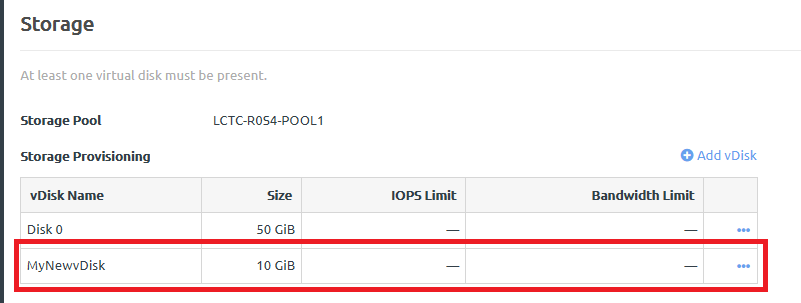
- Click Add vDisk.
The vDisk is added to the application instance.
Figure 5. New vDisk added to application instance