Replacing a ServeRAID adapter on the PCI riser-card assembly
Use this information to replace a ServeRAID adapter on the PCI riser-card assembly.
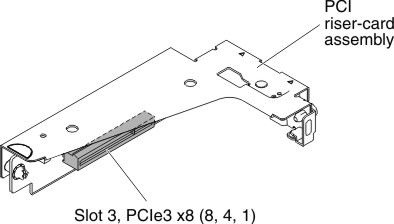
- Slot 3
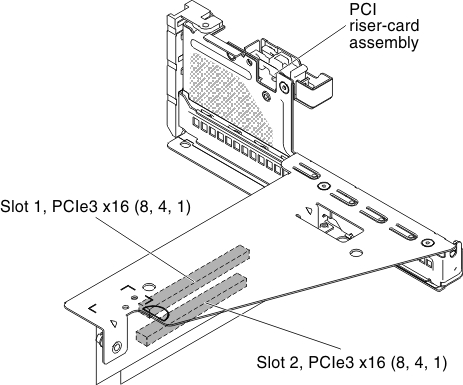
- Slot 2 (For the rear backplane or external ServeRAID adapter only)
- Slot 1 (For external ServeRAID adapter only)


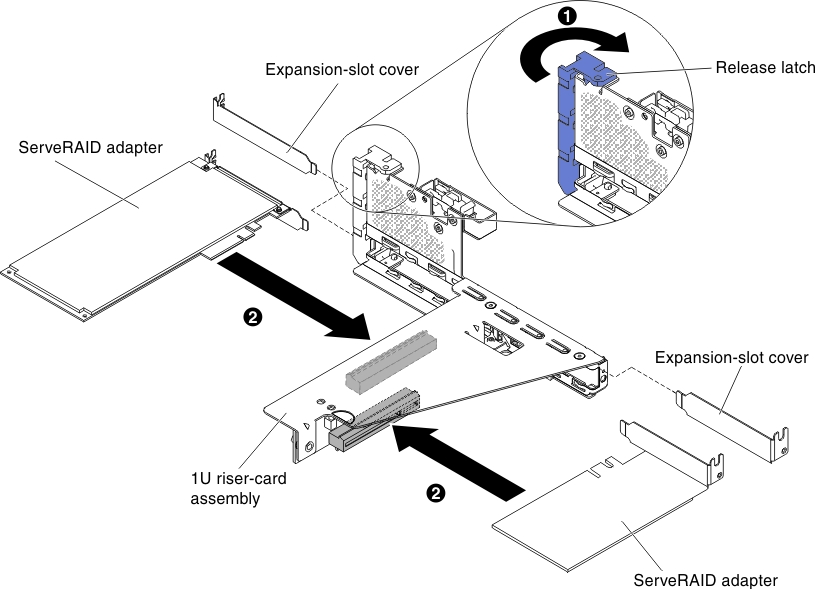
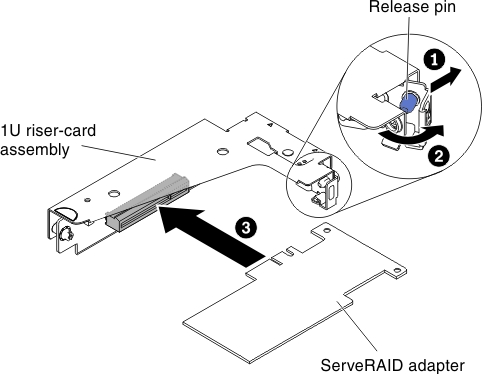
To install a ServeRAID adapter on the PCI riser-card assembly, complete the following steps:
When you restart the server for the first time after you install a ServeRAID adapter with a battery, the monitor screen remains blank while the controller initializes the battery. This might take a few minutes, after which the startup process continues. This is a one-time occurrence.
Important: You must allow the initialization process to be completed. If you do not, the battery pack will not work, and the server might not start.
The battery comes partially charged, at 30% or less of capacity. Run the server for 4 to 6 hours to fully charge the battery. The LED just above the battery on the controller remains lit until the battery is fully charged.
Until the battery is fully charged, the controller firmware sets the controller cache to write-through mode; after the battery is fully charged, the controller firmware re-enables write-back mode.
- When you restart the server, you are given the opportunity to import the existing RAID configuration to the new ServeRAID adapter.

