Replacing the compute book cover
This information provides instructions on how to replace the compute book covers.
The compute book has a cover on the left side and a cover on the right side for access to the microprocessor and DIMMs. Use the same procedure to remove both covers.
To access the microprocessor and DIMMs 1 through 12, remove the left cover.
To access DIMMs 13 through 24, remove the right cover.
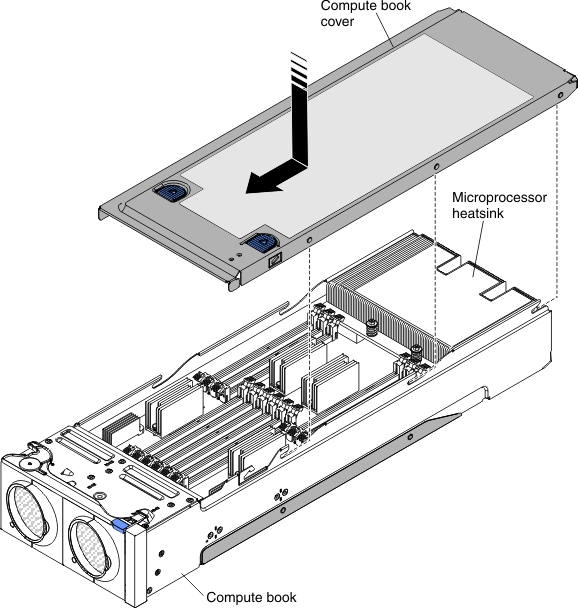
To replace the compute book covers, complete the following steps:
- Align the cover on the rear of the compute book and slide it toward the front of the compute book until it is secure.
Give documentation feedback